Industry news
tens unit patch placement
Industry news 2026-07-31 13:53:42 61 views admin
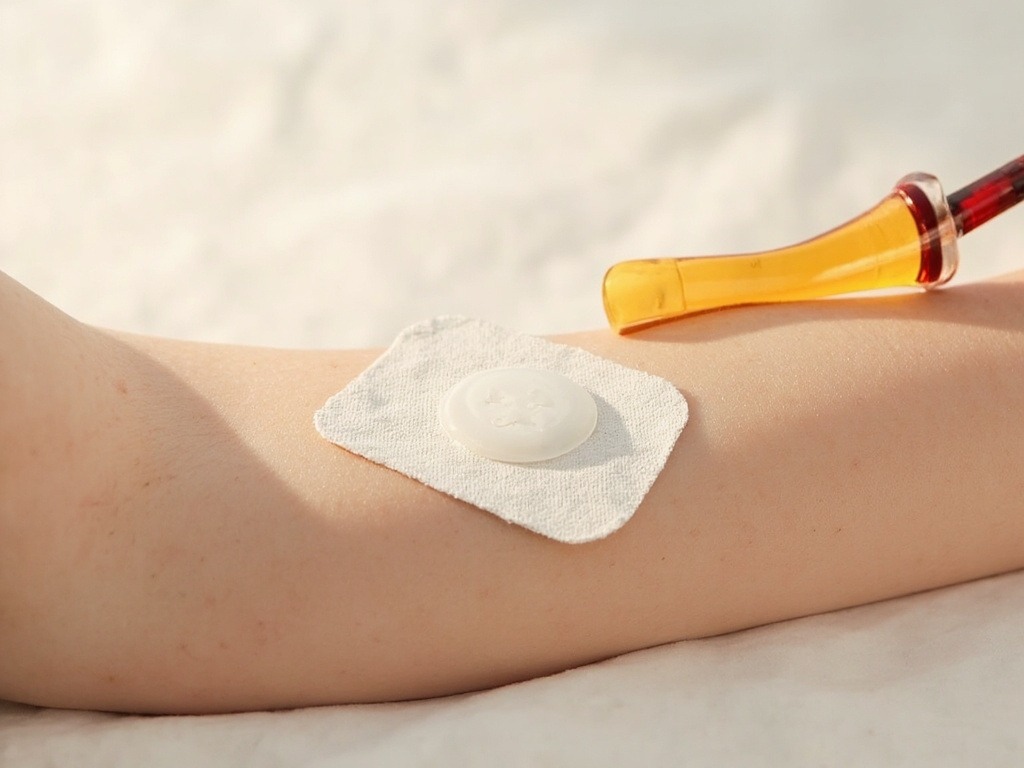
Best for: home TENS/EMS users comparing reusable electrode pads, first-time buyers choosing between snap and pin connectors, caregivers setting up a device for a partner or parent, athletes using muscle stimulation between training sessions, anyone replacing pads that have stopped sticking.
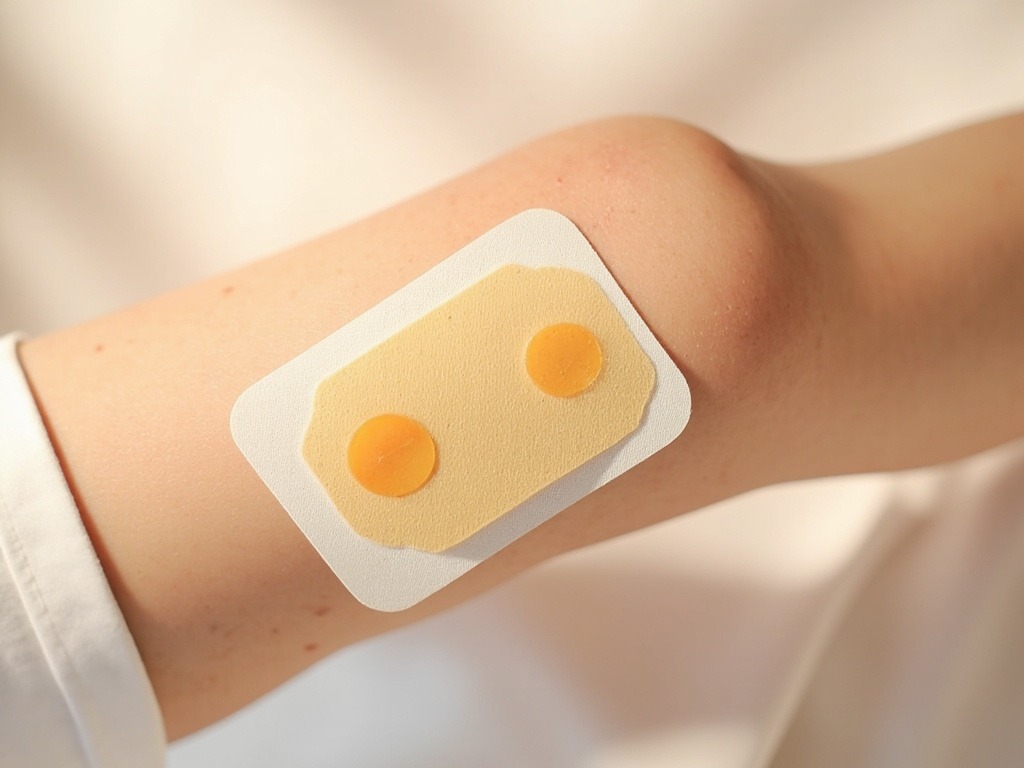
Correct tens unit patch placement is the difference between a useful 30-minute session and a frustrating one with weak pulses. The two working variables are where the pads sit on the body and how well the gel couples them to the skin. Most off-the-shelf 5x10 cm rectangular pads cover a single muscle belly, while 5x5 cm squares fit along the spine or around the knee. Place pads on clean, dry, hair-light skin at least one pad-width apart, run the lead wire so it does not tug, and stop a session if any pad turns bright red before the timer ends.
Start with a working map of the body
The shortest route to better stimulation is a paper towel and a washable marker. Stand in front of a mirror, switch the unit on at the lowest setting, and slide a single pad across the target muscle while a partner watches for an actual twitch. Mark the spot. Repeat with the second pad, then photograph the marks. The map you build in five minutes saves you twenty minutes of guessing every week.
Three rules that hold for most home users:
- Both pads of one channel go on the same muscle, never one on each side of the heart.
- Pad edges should not touch; leave a 2.5-5 cm gap so the current has tissue to cross.
- Never place a pad on broken skin, a mole that bleeds, the front of the neck, or directly over a joint crease.
What the connector on the lead wire actually changes
Home TENS units ship with two connector styles, and buying the wrong one is the most common return reason. The difference is mechanical, not electrical: a 3.5 mm pin lead is a single metal shaft, while a 0.86 cm snap lead uses a small stud that pops into a metal disk on the pad. Pin leads are common on older or prescription units; snap leads dominate the consumer market because the pad detaches cleanly without yanking the wire.
| Connector | Pad compatibility | Typical buyer profile | Watch-out |
|---|---|---|---|
| 3.5 mm pin | Pads labelled pin or with a small socket | Older prescription units, some clinical models | Repeated insertion tears the pad's carbon layer |
| 0.86 cm snap | Most consumer pads sold in 4-packs | Home TENS/EMS users, gift buyers | Snap must be centred or current concentrates at one edge |
Before adding a pad to cart, check which connector your unit's lead wire uses. The two are not interchangeable without an adapter, and adapters add a third failure point.
Pad size matched to body area
Pad area controls how the current spreads. A larger pad lowers the current density at the skin, which feels less sharp at the same intensity setting. Smaller pads concentrate current and reach deeper into small muscle groups. The table below is a starting point, not a prescription; the only true test is whether you can feel clean contraction without surface sting.
| Body area | Common pad size | Channel layout | Why this size |
|---|---|---|---|
| Upper trapezius | 5 x 5 cm square | Two pads stacked along the muscle | Small target, easy to keep off the spine |
| Lower back (paraspinals) | 5 x 10 cm rectangle | Two pads parallel to the spine, one side only | Covers the full muscle belly |
| Quadriceps | 5 x 10 cm or 5 x 9 cm | Two pads along one head of the muscle | Large flat surface, room to spread |
| Calf | Round 5 cm diameter | Two pads, upper and lower belly | Cylindrical muscle, round pad sits flush |
| Wrist or forearm (small muscle) | 3 x 5 cm rectangle | One channel, both pads close together | Curved surface, smaller pad bends with skin |
If a pad lifts at a corner within a minute of applying it, the surface area is too large for the curve of that body part. Switch one size down before blaming the gel.
Re-use cycles, gel care, and the signs a pad is finished
Most hydrogel TENS pads survive 20-40 sessions on clean skin before the impedance climbs enough that you can feel it. The lifespan of any single pad is set by three things: skin oils left on the surface, drying between uses, and how aggressively the backing is peeled. A drop of room-temperature water rubbed into the gel surface restores tackiness for a few more sessions; alcohol-based cleaners harden the hydrogel and shorten life.
Concrete signals that a pad is past its useful cycle:
1. The pad no longer feels sticky after a rinse and air-dry.
2. Patches of the hydrogel look cloudy, wrinkled, or have lifted at one corner.
3. The unit runs fine, but you feel a sharper sting at the same intensity setting where the session used to feel neutral.
4. The carbon layer under the gel is visible through a worn spot.
For home users who run a unit two or three times a week, a four-pack of quality snap pads usually lasts 6-12 weeks. Heavy daily users go through a pack in 3-4 weeks and should factor that into running cost, not just the unit price.
Skin preparation that actually changes the result
Skin prep is the most underused step in home TENS use. Body lotion, sunscreen, and natural skin oil all form a film between the gel and the epidermis, and that film both weakens the electrical contact and shortens pad life. The fix takes about九十 seconds and adds noticeable session quality:
Wash the target area with plain soap, not a moisturising body wash. Pat dry. If the area is hairy, trim with clippers rather than shave right before a session; a freshly shaved leg is a common cause of the bright red rectangle you sometimes see after a session. Wait five minutes for the skin to settle before applying pads. Wipe the gel surface of each pad once with a barely damp finger before the first use of a new pack; factory dust on the gel is one of the underrated reasons new pads feel weaker than the reviews promised.
Limitations and safety notes for home users
TENS and EMS devices are consumer electrotherapy tools, not medical treatments, and pad placement that feels strong is not the same as pad placement that is safe. The U.S. Food and Drug Administration regulates TENS units as Class II medical devices, which means manufacturers must follow general controls, but specific placement claims and outcome statements for any given condition should be checked against current local labelling and a clinician's advice (FDA: TENS units consumer information). Anyone who is pregnant, has a cardiac device, has a bleeding disorder, or has reduced sensation in the target area should review use with a clinician first, and the device manual should always override any general placement rule you read online.
Three placement mistakes that show up in the support inbox
Stacked pads. Placing both channel-one pads right next to each other looks tidy, but it forces the current to cross a 1 cm gap of skin and the sensation ends up superficial. Spread the pads until the gap is at least one pad-width.
Placed directly over a joint crease. A pad on the back of the knee or the inside of the elbow lifts every time the joint bends. The current also concentrates unpredictably. Move the pad to the muscle belly just above or below the crease.
Left on while driving or sleeping. A pad that shifts under a seatbelt or during a sleep cycle can sit in one spot for too long. Use the unit while seated and awake, set a timer, and remove pads before standing up. A pad that has slipped onto a bony area concentrates current and is the usual cause of the small red mark some users find the next morning.
When to replace the unit vs when to replace the pads
A working unit that has lost range at the same intensity setting almost always points at the pads, not the device. Try a fresh pack from a different brand before suspecting the unit. If the new pads also feel weak, the lead wire is the next likely culprit, especially at the junction where the wire meets the plug; a wire that flexes but has lost internal continuity will pass a mechanical check and fail an electrical one. A unit that turns on, charges, and counts down the timer is almost never the cause of a weak session; the contact chain from unit to lead to snap to gel to skin is where the loss lives.
For buyers comparing OEM options for private-label electrode programs, a typical supplier target is a 5 x 10 cm rectangle with a 0.86 cm snap, a PET or cloth backing, and a hydrogel layer rated for 20-40 re-use cycles; validated specifications for any specific program should come from the supplier's own technical data sheet. Hanmeng Bio-Tech publishes background on its pharmaceutical and electrode patch capabilities at patchbiohn.com/oem/pharmaceutical-patch-oem.html, and specific pad dimensions, gel formulation, MOQ, and lead-time figures should be requested directly rather than inferred from a general product page.
CATEGORIES
LATEST NEWS
CONTACT US
QQ: 396269538
Phone: 17796669065
Tel: 17796669065
Email: 396269538
Add: Room 001, 1st Floor, Building 1, Zhengzhou Hangmei International Smart City, Intersection of S102 and Nanquan Road, Xuedian Town, Xinzheng City, Zhengzhou, Henan Province, China